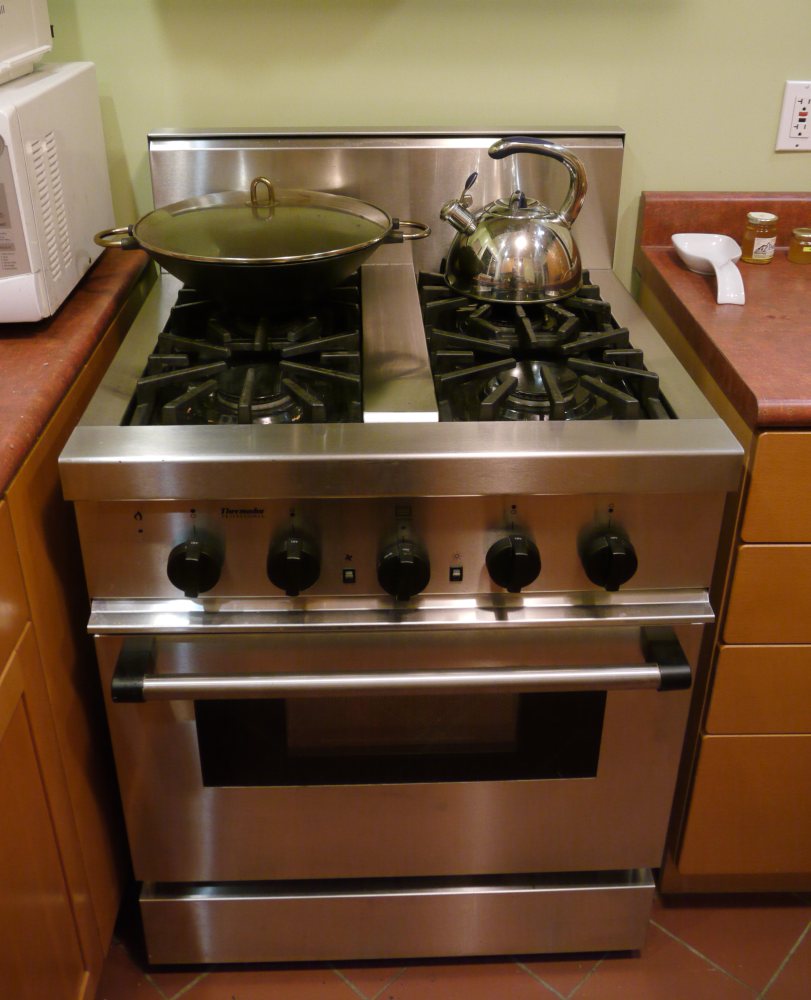
 I started reading about oven problems on the internet, and found a classic problem of searching for information with search engines: there are too many ways to describe a problem. I found people with gas ovens who saw flames that:
flickered
sputtered
fluttered
hiccuped
wavered
pulsed
pulsated
intermittently burned
burped
etc.
Anyway, it seems the root cause of any sort of flame problem is almost certainly the ignitor. This oven has a "hot surface ignitor", which is basically just a heating element that is positioned close to the burner. When the heating element is activated, it becomes hot enough to ignite the gas mixture coming out of the burner. Once the flame is ignited, the heat from the flame will keep the ignitor yellow-hot. As a safety feature, the oven is designed to only allow the gas valve to open when the ignitor is yellow-hot. If the ignitor cools down, the flame must have gone out, and the gas should be shut off. The oven determines the temperature of the ignitor by passing current through it. As the device heats up, it's resistance lowers and enough current flows to activate the gas valve. If the resistance becomes too high (because the ignitor cools down), the gas valve is shut. Ignitors apparently wear out just like light bulb filaments, and eventually their resistance slowly increases over years of use. Eventually, the resistance rises high enough so that the gas valve is just at the cusp of being activated. As the ignitor's resistance fluctuates just around the point where the valve is being switched, the flames will sputter and the oven will not heat as quickly as it should. As directed by troubleshooting guides on the 'net, I put an ammeter in line with the ignitor while the oven was running: 2.9A. It should be 3.2 to 3.6A.
I searched for genuine Thermador replacement parts, since I wanted to keep this oven in original condition. The Thermador website seems to require a registration just to browse for parts, and did not seem very end-user friendly. Forget that! I found some aftermarket ignitors sold by online appliance repair sites for about $80. Then, I found a general fits-all flat-style ignitor for $40. Then, I checked eBay and found a general flat ignitor for $13.50 plus $4 shipping. I figured that I would try it since it was so much cheaper than the rest it would be worth the gamble.

The new ignitor is below the old ignitor in this photo. They are very similar. The new part has two mounting wings, while the original had only one. The length of the stainless steel cage is identical, and the ceramic insulator is a little shorter on the new part.
I installed the new ignitor and the oven works perfectly. The gas snaps on, the flames are steady, then the flames snap off when the thermostat opens. Great!
 Here's a shot of the ignitor near the burner tube.


